1、登录开发板
2、安装必要的工具命令如下:
sudo apt-get install -y
lcov
cmake-curses-gui
build-essential
ninja-build
wget
git
python3
python3-pip
python3-venv
libsystemd-dev
3、下载代码
git clone https://github.com/tuya/TuyaOpen.git (SDk文档:tuyaopen.ai)
下载完成后,修改apps/tuya_cloud/switch_demo/src/tuya_config.h 中 TUYA_PRODUCT_ID TUYA_OPENSDK_UUID TUYA_OPENSDK_AUTHKEY三个宏
(非常重要如何获取可以看tuyaopen.ai仓库中的Readme)
4、激活环境
cd TuyaOpen/
. ./export.sh
配置板型:
cd TuyaOpen/apps/tuya_cloud/switch_demo
tos.py config choice
出现如下界面:
[NOTE]: Fullclean success.
BK7231X.config
ESP32-C3.config
ESP32-S3.config
ESP32.config
EWT103-W15.config
LN882H.config
T2.config
T3.config
T5AI.config
Ubuntu.config
Input "q" to exit.
Choice config file: 10

输入:10 选择Ubuntu
5、编译
命令:tos.py build
如下
(.venv) luoben@dshanpi-a1:~/TuyaOpen/apps/tuya_cloud/switch_demo$ tos.py build
``
6、编译成功打印
====================[ BUILD SUCCESS ]===================
Target : switch_demo_QIO_1.0.0.bin
Output : /home/luoben/TuyaOpen/apps/tuya_cloud/switch_demo/dist/switch_demo_1.0.0
Platform : Ubuntu
Chip :
Board :
Framework : base
7、运行bin文件
cd /TuyaOpen/apps/tuya_cloud/switch_demo/dist/switch_demo_1.0.0
./switch_demo_QIO_1.0.0.bin
(.venv) luoben@dshanpi-a1:/TuyaOpen/apps/tuya_cloud/switch_demo/dist/switch_demo_1.0.0$ ./switch_demo_QIO_1.0.0.bin
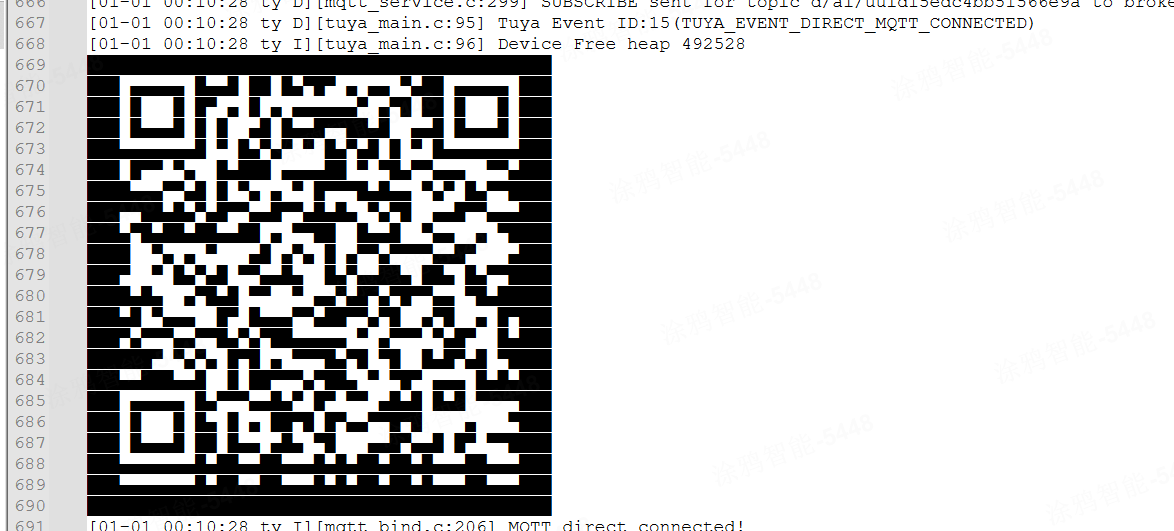
打印出二维码即连上Tuya Mqtt服务器:

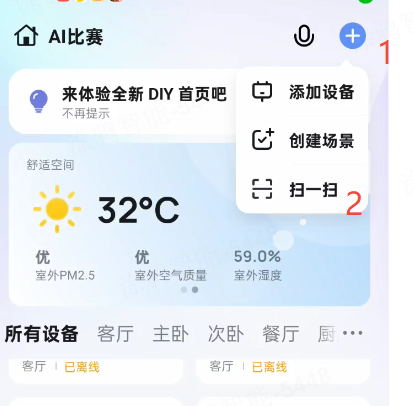
8、用《涂鸦》APP扫码配网(应用商城:搜涂鸦)
操作如下:


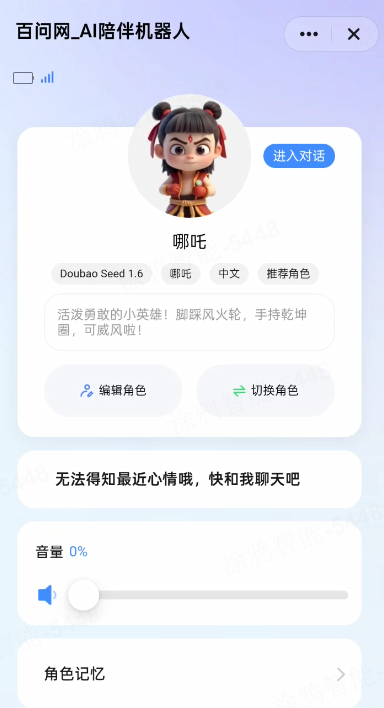
未完待续,连接AI,Tuya Iot平台操作下回分享